Email has certainly changed how people communicate all over the world. However, it’s a notorious productivity killer.
Excessive email is not only a time suck; it can result in lost or outdated information, crossed wires, and duplicative effort.
The email has certainly changed how people communicate all over the world. However, it’s a notorious productivity killer. Excessive email is not only a time suck; it can result in lost or outdated information, crossed wires, and duplicative effort.
Moving your team away from email doesn’t mean you can’t capture and share exciting ideas, no matter where you are when inspiration strikes. With Tigersheet, you can explore at least four alternate ways to collaborate with your team without making them feel chained to their inboxes.
We’ve laid out some simple steps to help you ditch this broken, outdated system of communication and switch to something better—a centralized platform that combines the communication and data you’re communicating about in one place.
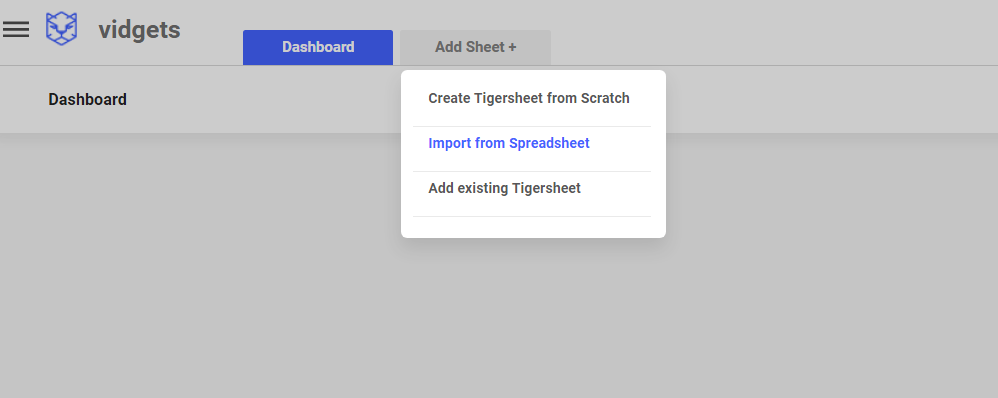
Brainstorm in the sheet
Most teams schedule time for face-to-face brainstorming sessions. One team member might take notes for the group, recording in their notebook or a shared, online document. While this technique might seem dependable, it can be a pain for the document owner to consistently loop in the right people.
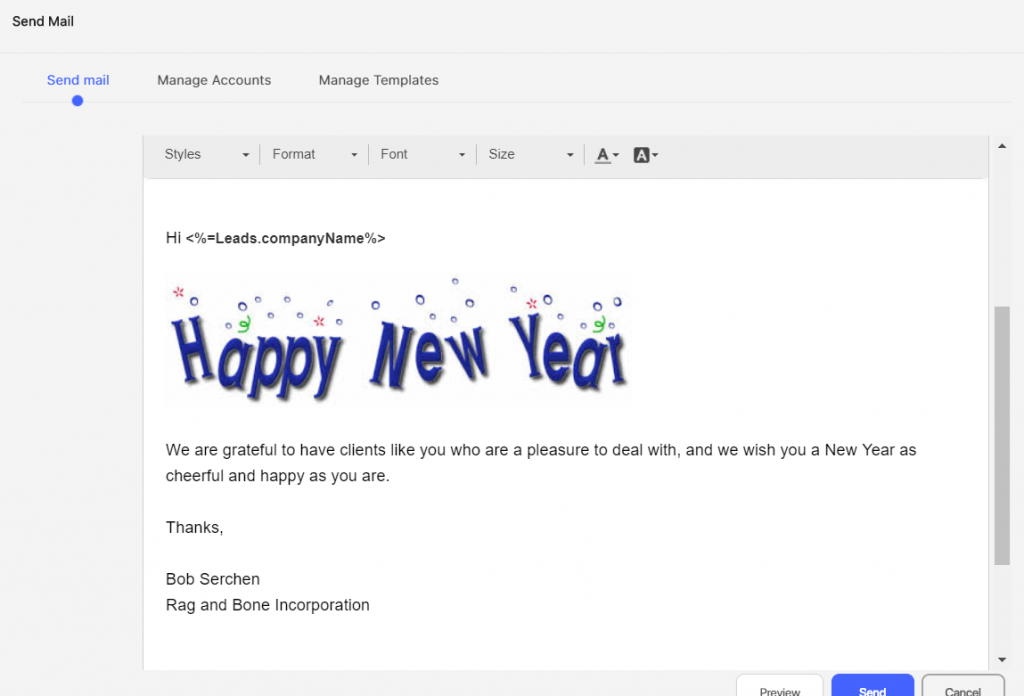
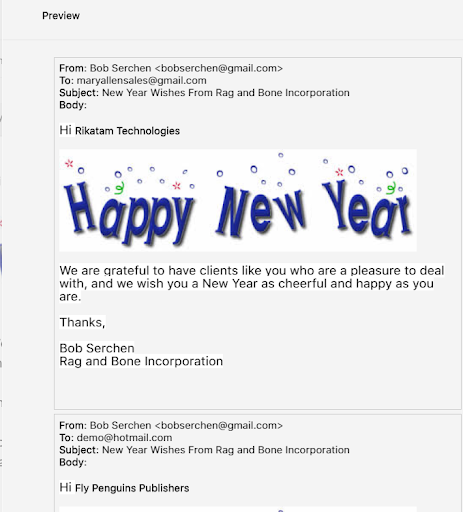
Tigersheet empowers teams to collect, organize, and transition these ideas into actionable plans. Sheets are incredibly flexible and let you attach reference documents and images directly to rows. In addition, Tigersheet integrates with Gmail so you can always access your saved drafts, attachments, or templates on the go.
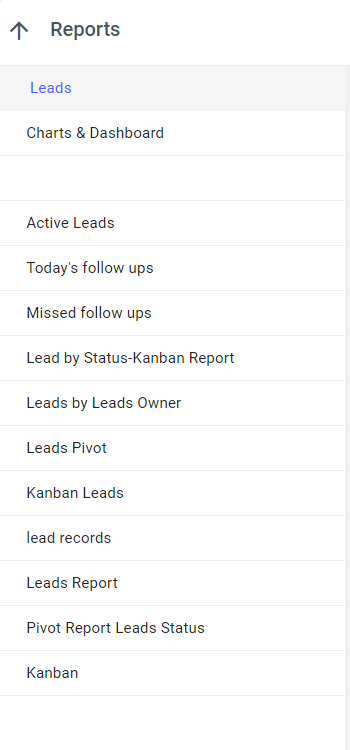
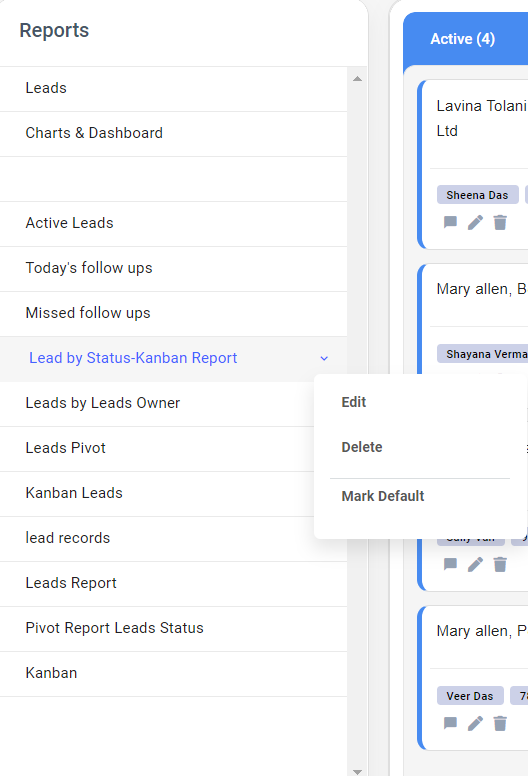
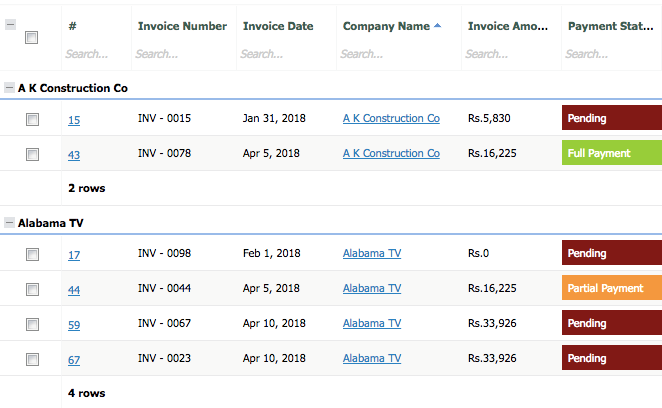
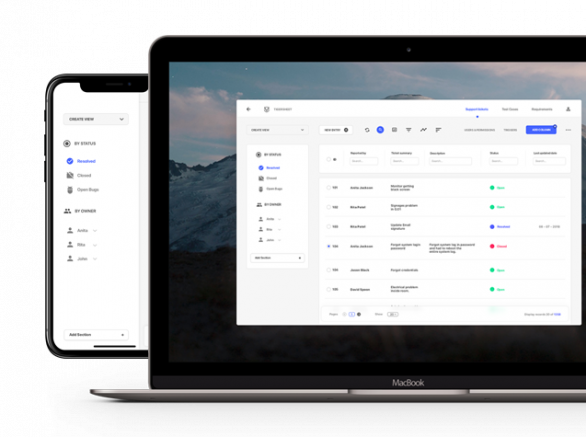
Once your team agrees on the plan of action and finalizes deadlines (with start and end dates), anyone with access can easily track progress through standard views, pivot view, Kanban report?card view, or timeline.
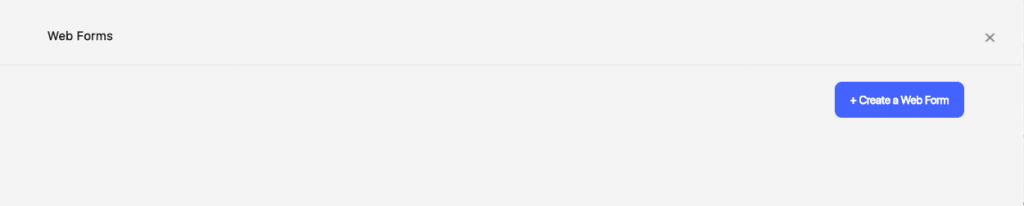
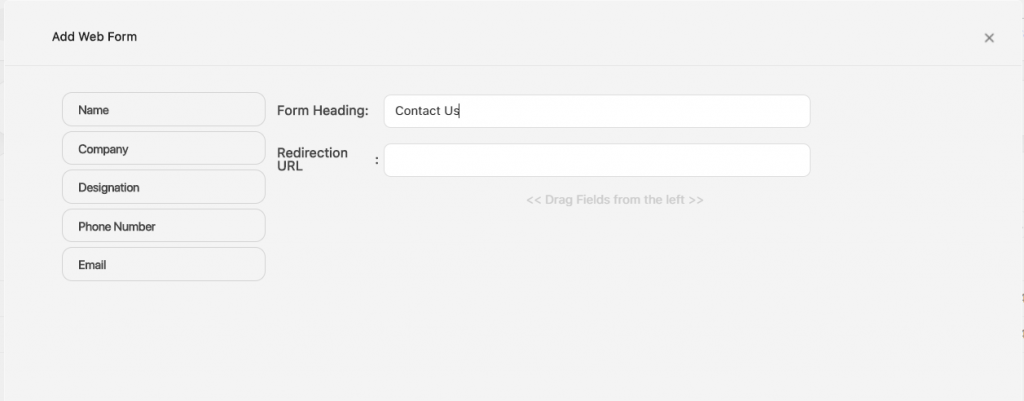
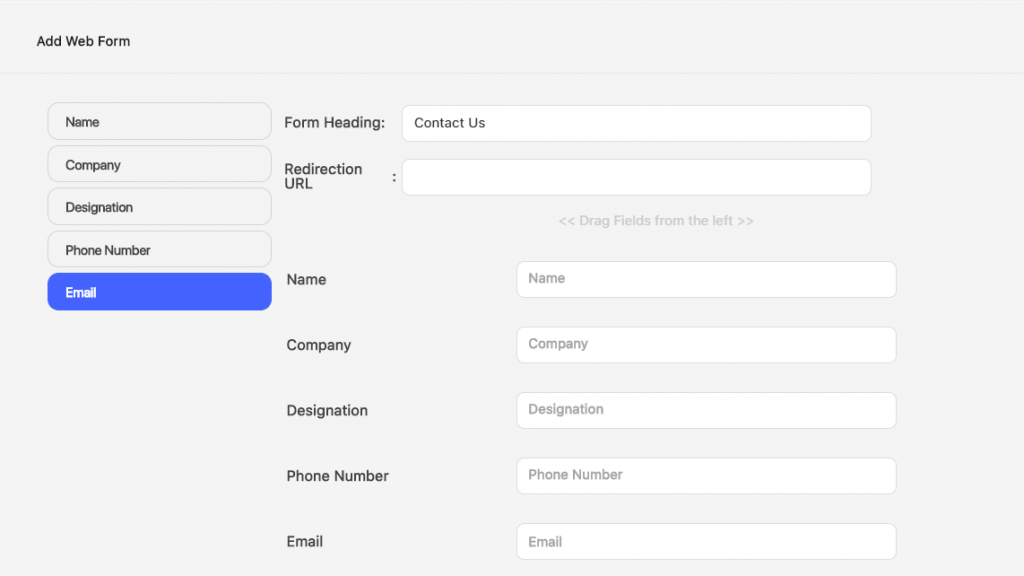
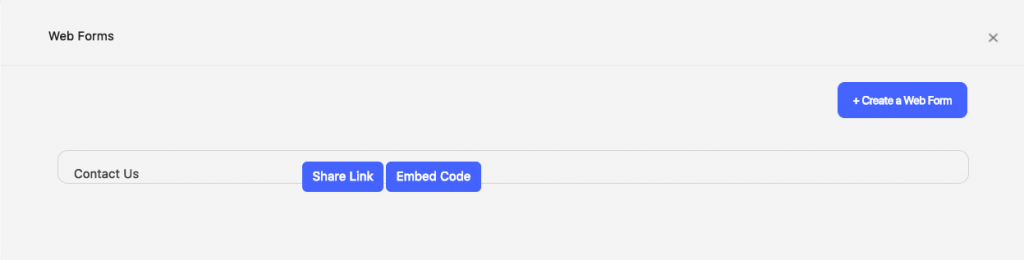
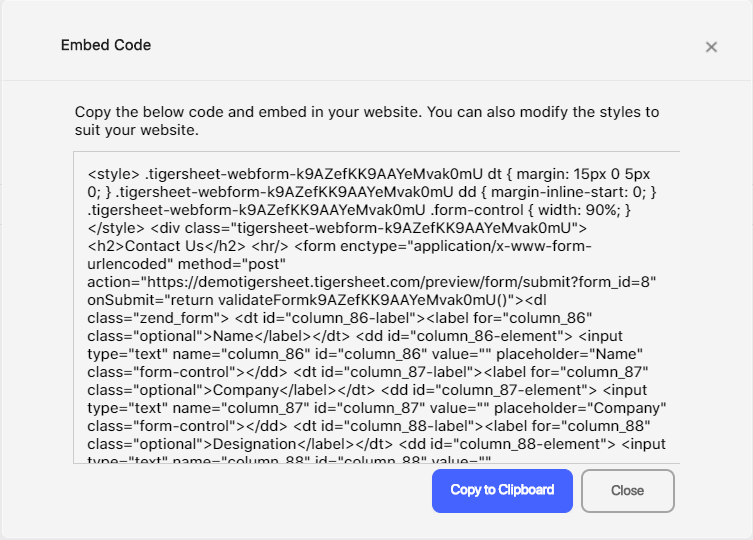
Document, Share or Update on the Go Through Mobile App
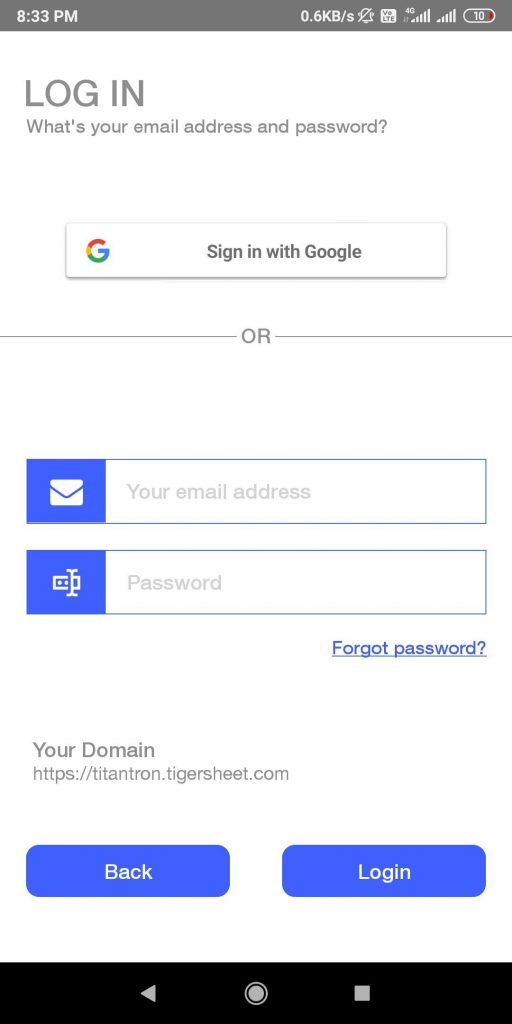
With Tigersheet forms, it’s easier for individuals to contribute ideas as they occur from their mobile devices using the Tigersheet mobile app. Forms can be customized and formatted to meet the needs of your project, and once submitted new information automatically populates in the sheet.
With all these options, your teams can combine brainstorming with productivity — and improve internal visibility amongst team members, stakeholders, and managers — into the decision-making process.
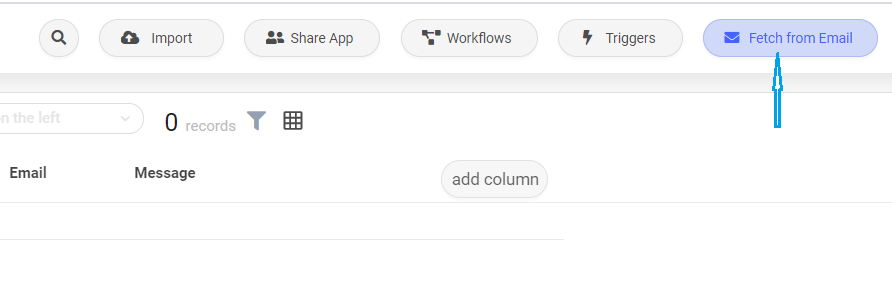
Parse that email to an Auto-Updating Sheet

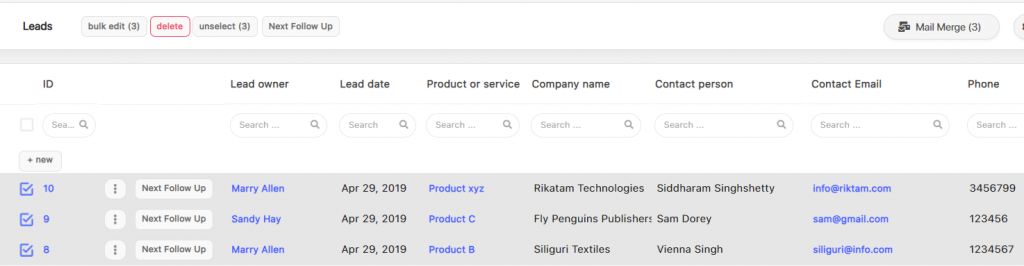
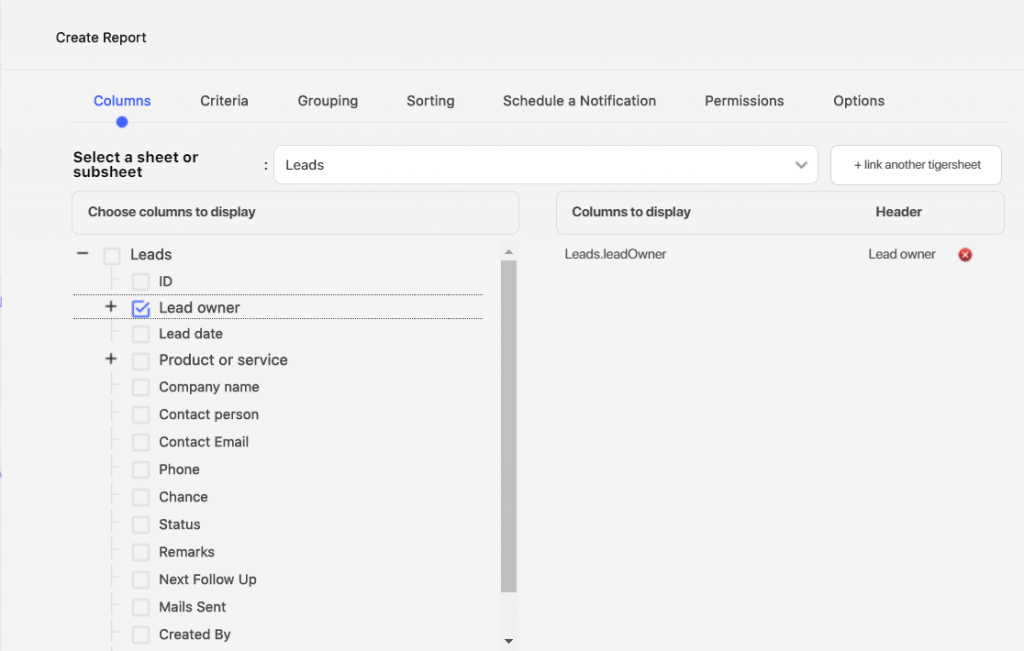
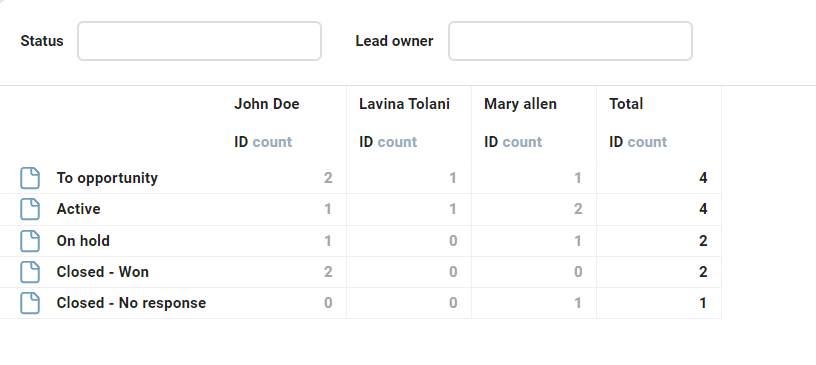
Reducing email overwhelm can seem inevitable if a part of your business relies on data that you receive by email. For example, leads from a lead owner, product inquiries from prospective customers, order confirmations from your online shops, sales stats…and a lot more… And you need to copy this imported data from Email to your database or Excel?
If such is the scenario, how do you convert data trapped inside those emails to an easy handle format like an Excel sheet? Well, we don’t want you to struggle with a tedious copy & paste manual routine anymore.
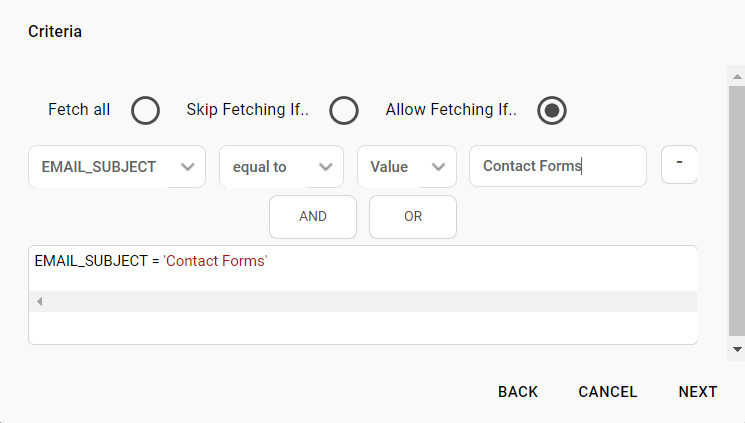
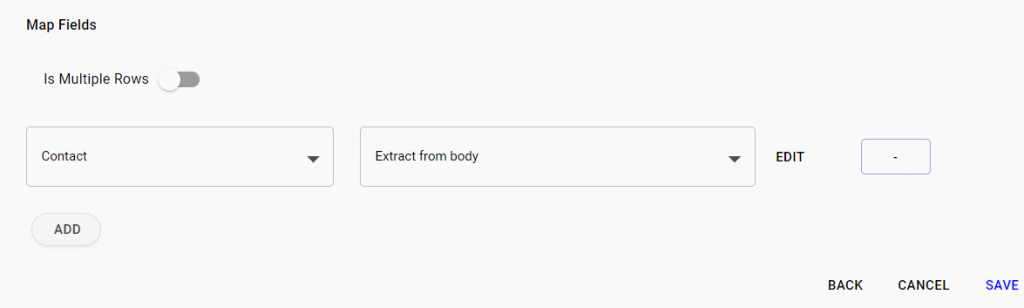
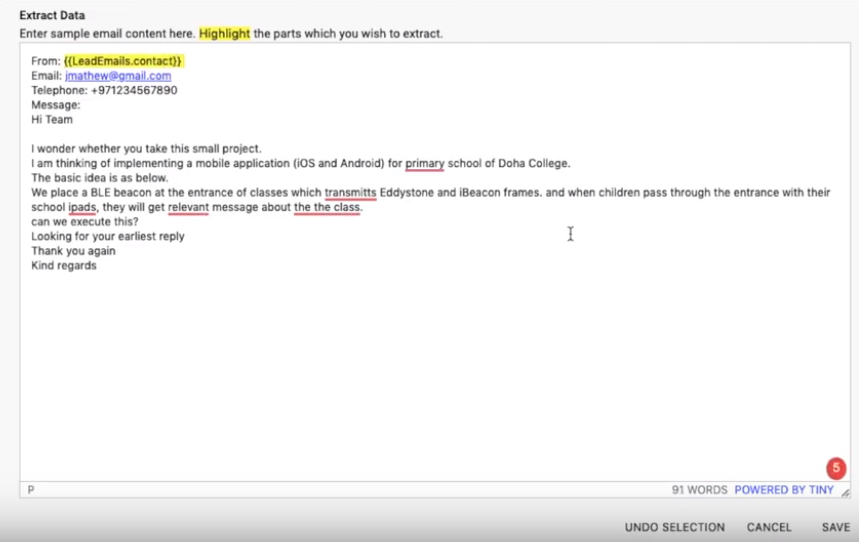
Ever heard of email parsers? You teach these programs how to recognize patterns in your emails, tell them what data is actually important and that everything else can be ignored, and then have them save only the important stuff.
Tigersheet can parse incoming emails for key information and import this email data into an auto-updating sheet. Yes, another super useful reason to stop sticking to your inboxes and say goodbye to heavily dependent email communication!
Make comments visible, traceable- Conversations in Tigersheet

Email overload can hinder innovation, making it tough to locate and compare ideas. With so much going on in a team’s day-to-day activities, it’s taxing for team leaders to remember who contributed what and nest relevant comments under the right topics. Finding the information, you need is like playing detective, which wastes the time you could use to develop and nurture the next steps in an important project.
If a marketing team member has a great recommendation for an email campaign, how do you capture and organize all ideas around that topic using email? With Tigersheet, collaborators can comment directly on a corresponding row in their sheet.
Team members can dive into the sheet and read the latest comments as they correlate to specific tasks or activities. All it takes is for the sheet owner to create a comment and ‘mention’ the designated user with an @ symbol and an automated notification is send as an alert to the person at his email.
For example: Here’s a comment targeted to a user @XYZ who is a team member in the organization.
@XYZ: Please look into the lead’s appointment scheduled post 20th October 2020 and update them in your logs.
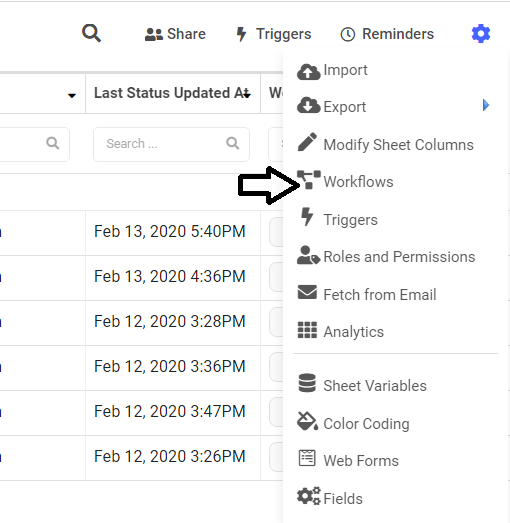
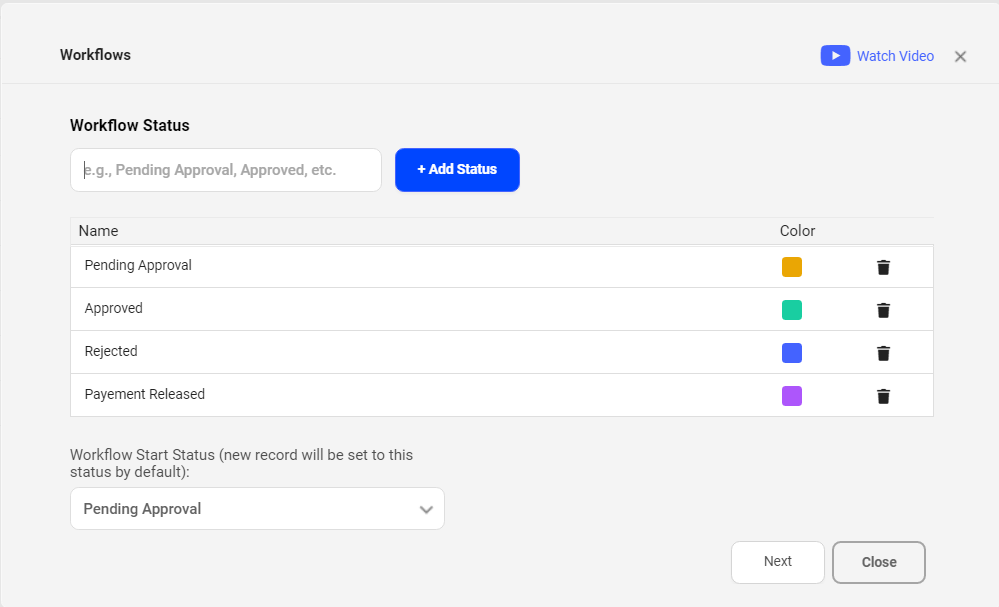
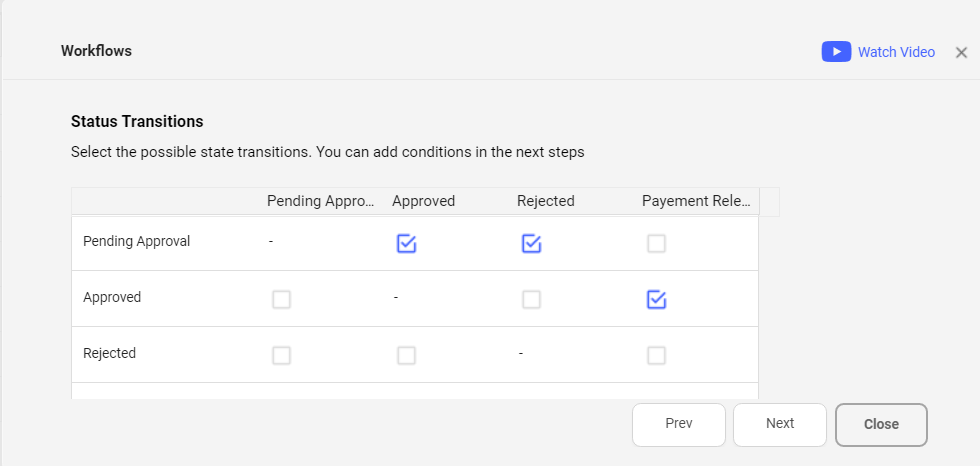
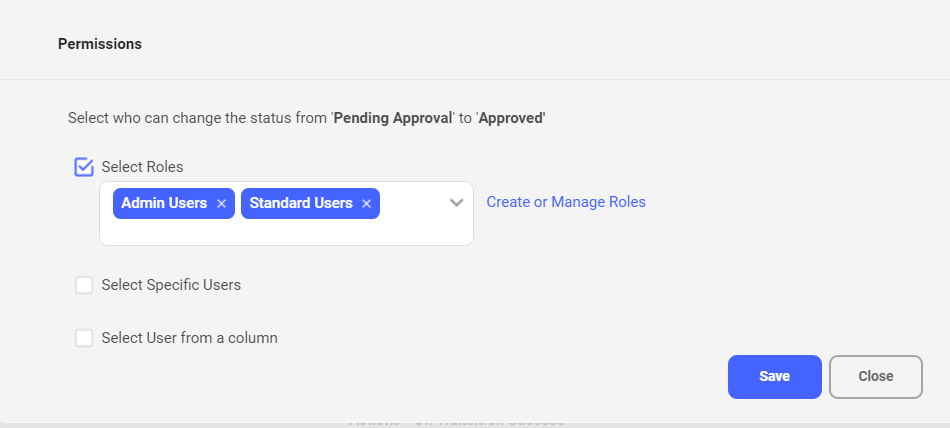
Automate to avoid writing emails
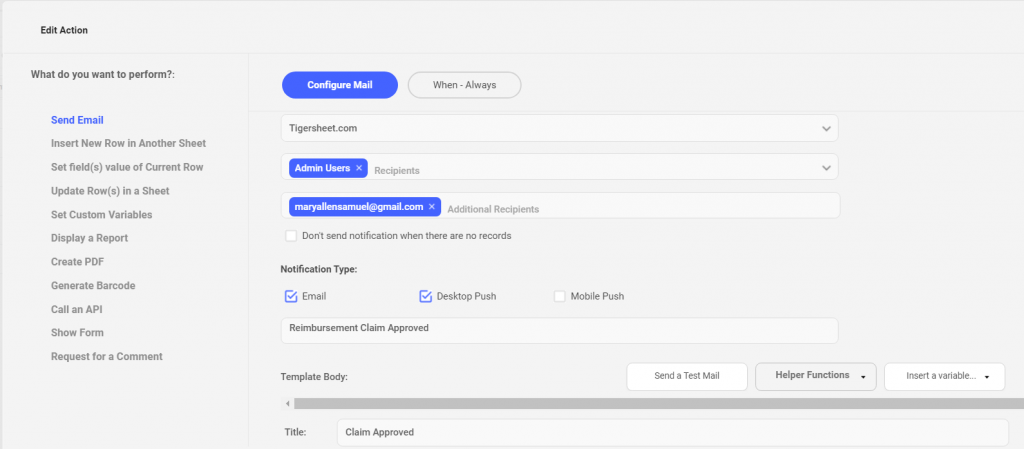
Automating repetitive actions gives teams more time to focus on tasks that have a higher business value. Using Tigersheet, employees can automate update requests, approval requests, reminders, and notifications. Setting up automated actions means teams won’t have to manually send out follow-up emails to task owners.
Teams that have replaced email communication with an app built on Tigersheet can respond to updates and approval requests directly through the app, freeing them from needing to follow up via email.
Tigersheet helps teams realize their great ideas and move them along to make a lasting impact. We all know that ideas can be gone in a flash, so it’s important for your team to capture them before they disappear.
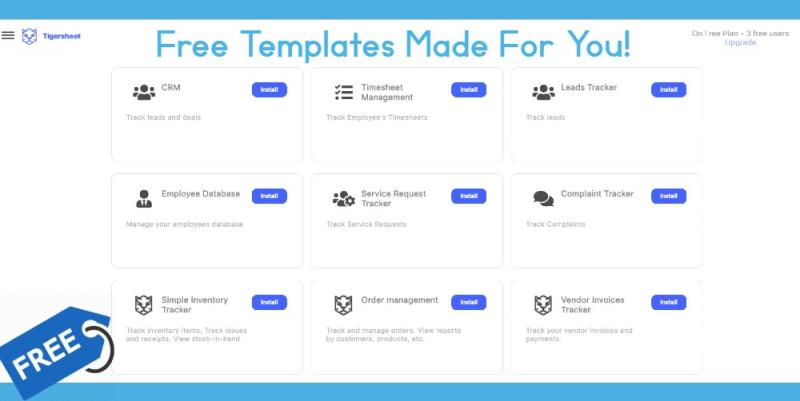
If you’re ready to test it out, sign up for a free trial of Tigersheet, absolutely free no strings attached! You can start building your own enterprise apps for desktop and mobile using one of our templates or start from scratch with Tigersheets drag-and-drop interface.